Using Automations
Managing Automations
Creating and customizing automations is simple. To get started, navigate to the Automate tab within the desired app.
To create a new automation, click the New Automation button on the top right of the Automate dashboard. When clicked, the automation customization form will appear, which has several fields available to customize the automation (Read more about these below).
To edit an automation, click the three dots next to the one you'd like to modify.
Customizing Automations
There are a number of customizations available to specify the specific behavior of a given automation. They are shown on the create/edit automation form below.
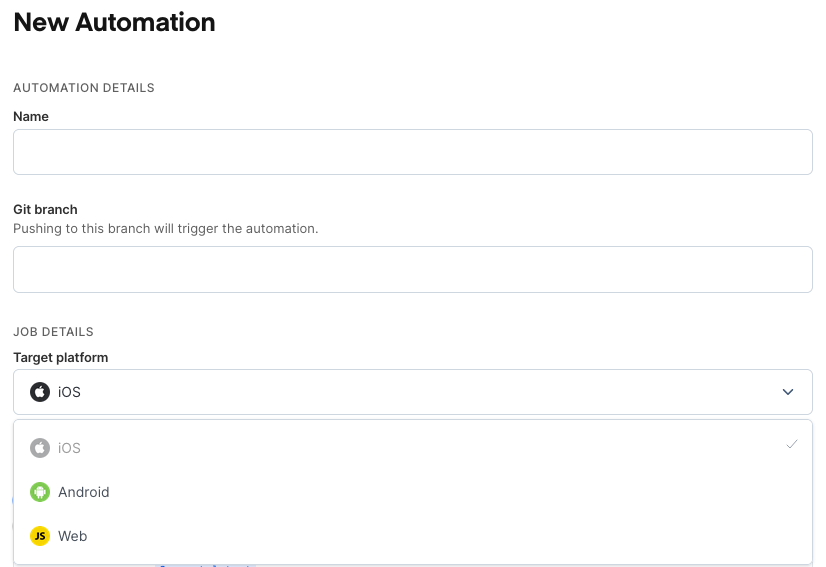
Basic Automation Info
All automations need a name and git branch to trigger from. Whenever code is pushed to the selected branch, the automation will run.
Fields
- Name: A name to identify the automation task.
- Git Branch: The branch which will trigger the automation. This will run a build any time a
git pushis made to the specified branch. - Target Platform: The platform of the jobs this automation will run.
In addition to name and git branches, automations have a number of customizations available depending on the type of job selected.
Note about Git Branch naming
It is possible to specify one or multiple * wildcards character to match multiple branches within a single automation; for instance:
- a branch simply set to
*will match all the branches and will trigger the automation for any single git push - a branch set to
dev*will match any branch with a name starting withdevincludingdevitself - a branch set to
dev*otherwill match any branch with a name starting withdevand ending withotherincludingdevother
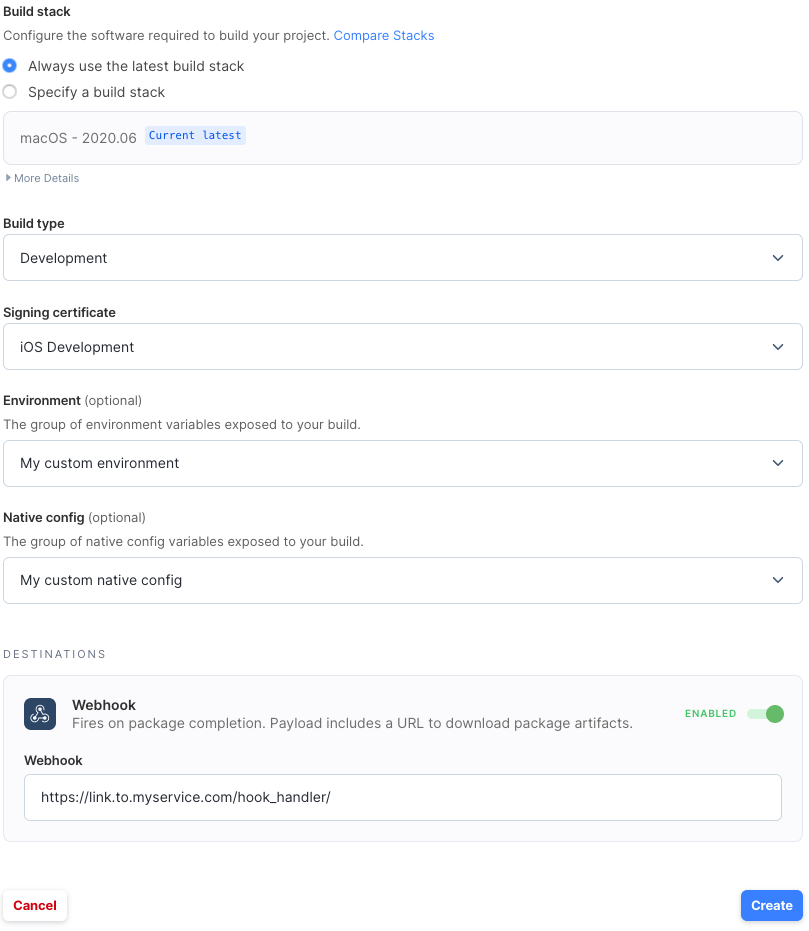
iOS and Android Automations
iOS and Android automations create native builds which can be downloaded and run on devices. They have the following customizations:
Fields
- Build Stack: The build stack where the job created by this automation will run.
- Build Type: The type of build to create. Options depend on the selected platform.
- Signing Certificate: Which signing certificate to use. Learn more about them here.
- Environment: The custom build environment (if any) to use when this automation is triggered.
- Native Config: The native config (if any) to use when this automation is triggered.
- Webhook: (optional) If enabled, a POST with information about completed builds will be sent to the entered URL. Learn more about their content here.
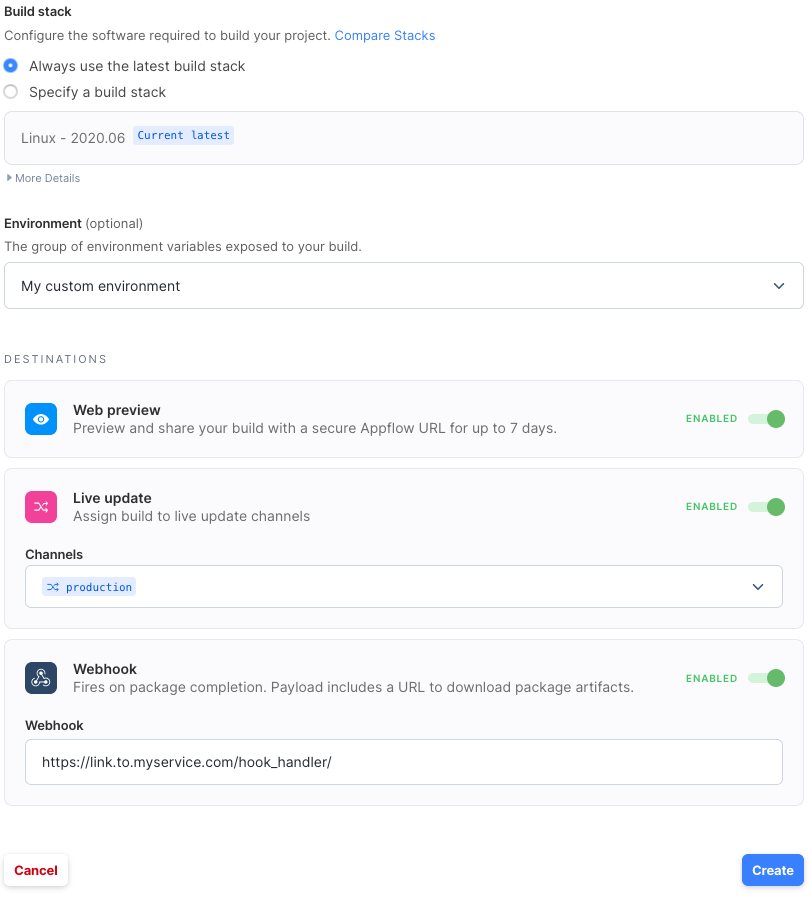
Web Automations
Web automations build the javascript portion of an application and interface with the Deploy service to enable live app updates.
Fields
- Environment: The custom build environment (if any) to use when this automation is triggered.
- Web preview (optional) If enabled, a web preview of the app will be published to a public URL.
- Live update: (optional) The Deploy Channel where web builds from this automation will be assigned.
- Webhook: (optional) If specified, a POST with information about completed builds will be sent to the entered URL. Learn more about their content here.
Note about Build Stacks
It is possible to choose one of two different options for the Build Stack:
- always be on the latest Build Stack
- always be on a specific Build Stack.
If the 1. is chosen, the automation will always create jobs using the latest build stack. When the "latest" build stack is updated to a newer version nothing needs to be done and the automation will keep working.
If the 2. is chosen, the automation will always create jobs using the specified build stack until the build stack is deprecated. A clear deprecation date will be shown in the dashboard to give users time to update the automation. If a new build stack has not been chosen by the deprecation date, the automation will be automatically updated to the latest build stack on the deprecation date.