Deploy a Live Update on Appflow using the Appflow CLI
Appflow CLI is available to our enterprise customers only. Please contact us for more information.
Authentication
The Appflow CLI has to be authenticated on Appflow to be able to deploy a Live Update.
To log in, create a Personal Access Token on the Appflow Dashboard.
then type:
$ export IONIC_TOKEN=<your personal access token>
Create a Live Update channel
If you need to create a new Live Update channel then you can do so easily with the Appflow CLI.
$ appflow live-update create-channel --app-id=<appflow app id> --name=<channel name>
Additional options for this command can be explored in the CLI Command Reference.
Build a Live Update
Assuming the CLI is authenticated, create a web build for a Live Update by running:
$ appflow build web --app-id=<appflow app id> --commit=<git commit sha>
Once the build is successfully triggered, the CLI will automatically tail the logs from Appflow. If you do not
wish to wait for the build to complete, add the following flag --detached to your command. Please note: this will skip downloading any artifacts.
Customize the Live Update build
Noteable options available to customize the build include:
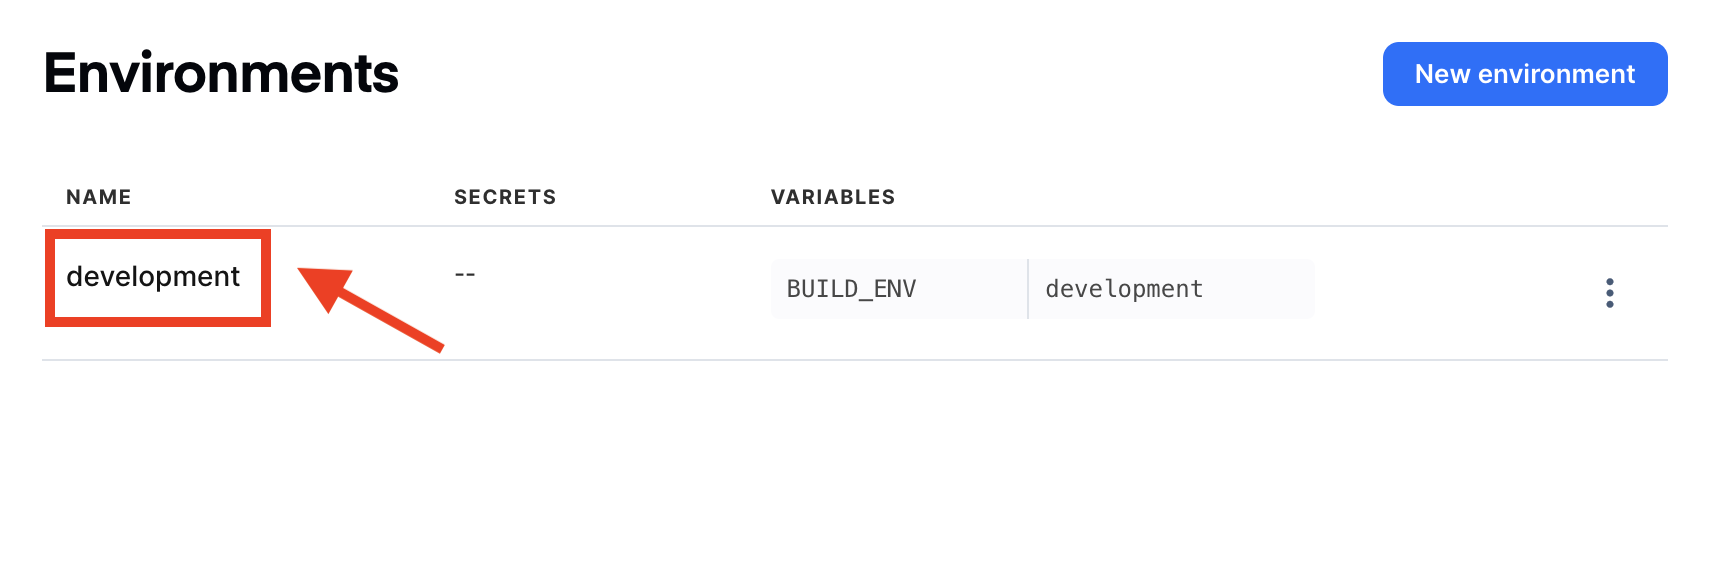
--build-stack=<name>to override the target build stack, defaults to latest stack--environment=<name>to specify the group of environment variables to be exposed to the build--env <list of key value pairs>Specify ad-hoc environment variables. You can use the flag any number of times to specify as many environment variables.--env-file=<name>to specify a file with any number of environment variables (one on each line).--secret <list of key value pairs>to pass ad-hoc secrets into the build process--dependency-cachingto enable caching of NPM packages to accelerate the build process--web-previewto enable a web preview of this build that can be shared with others--zipto download the zip file of the artifacts produced from the build
Additional options can be be explored in the CLI Command Reference
Deploy a Live Update
Once the web build has finished, it can be deployed as a live update using the following command:
$ appflow deploy web --app-id=<appflow app id> --build-id=<generated build id from previous command> --destination=<channel name>
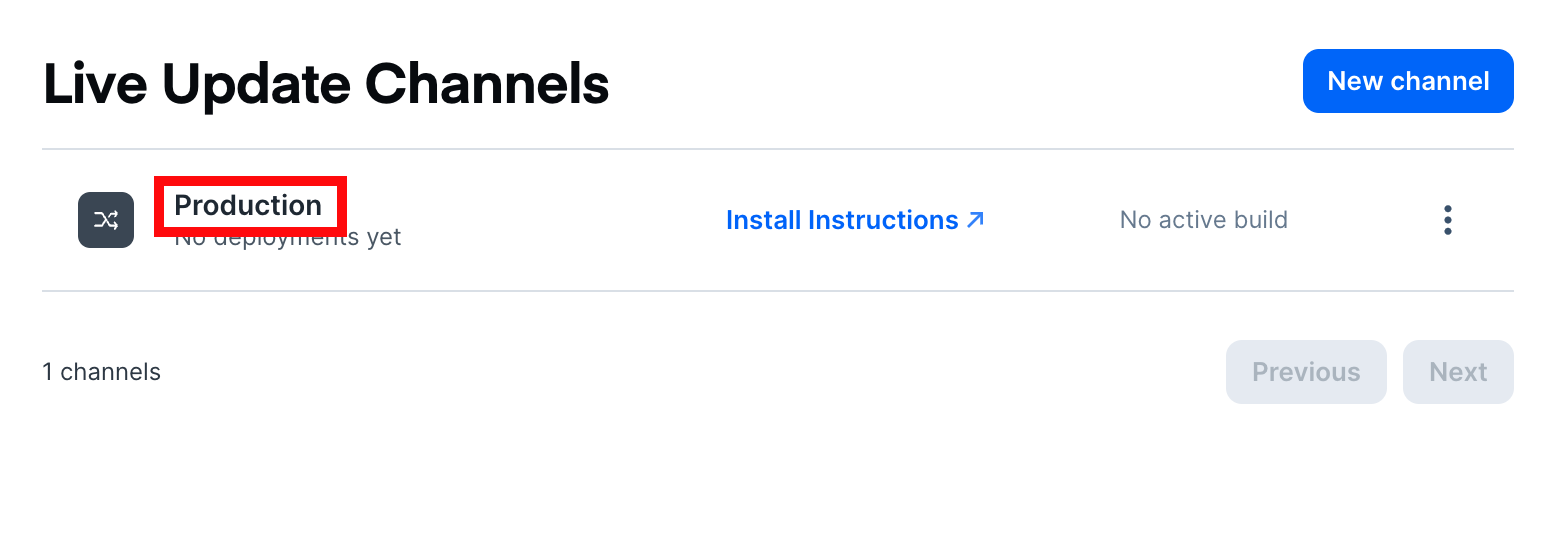
The --destination=<channel name> flag is used to specify the live update channel you want to deploy the web build to. At least one channel must be specified. This can be repeated multiple times if multiple channels need to be specified; more infos about channels are available here
Note about referencing Options values by name
Names are case-sensitive and need to be specified including spaces, for instance:
$ appflow deploy web --app-id=123 --build-id=456 --destination="My Custom Channel"
Apart from the --commit option, all others require the full name setup within the Appflow Dashboard.
Look for the name on the Environments and Destinations pages in Appflow: